Chair Yoga for Seniors: Ten Poses, With Modifications That Actually Work
The chair isn't a consolation prize. It's a tool, and the best way to use it is to know when to start letting go of it.
Here's a finding from chair yoga research that almost nobody mentions: in the study most often cited, chair yoga did nothing for balance.
That study, from Florida Atlantic University, was the first randomized trial of chair yoga in older adults with osteoarthritis in the hips, knees, ankles or feet. For eight weeks, 131 people came to either twice-weekly 45-minute chair yoga sessions or a health-education class. The yoga group came out ahead on several measures. They had less pain and less fatigue, and they walked faster. Most of those gains faded after the classes stopped, but one held: three months later, pain was still getting in the way of daily life less than before. Balance didn't change at all.
Chair yoga had no effect on balance.
— Park and colleagues, 2017 chair-yoga trial.
That isn't a strike against chair yoga. It tells you how to use it. A chair makes movement safe enough to start, and for people whose joints complain, it can make movement comfortable enough to keep doing. But balance improves when your body has to do some of the stabilizing work itself. So the routine below begins seated and ends standing, with the chair moving from seat to handrail to something your fingertips barely touch.
What the chair is really doing for you
Sitting down takes falling out of the picture, and once that fear is gone, most people move more freely. You can breathe into a stretch instead of bracing against it, and you can work on posture, mobility and strength without worrying about wobbling.
That counts for something. A 2021 review that pooled 25 studies of chair-based exercise in adults 50 and older found real gains in grip strength, arm strength and leg strength. On the 30-second chair-stand test, people managed a little over two more stands on average. That may not sound like much, but it's the same movement you use every time you get out of a car, off a sofa or up from the toilet.
Safety looks encouraging too, though the research is still small. In a pilot program for assisted-living residents with a history of falls (median age 88), eight weeks of chair yoga produced no adverse events during sessions. Participants also became less afraid of falling and better at rising from a chair. The National Center for Complementary and Integrative Health describes chair yoga as an even gentler option than "gentle yoga" for people with limited mobility.
Chair yoga is an even gentler option for seniors with limited mobility.
— National Center for Complementary and Integrative Health.
Set up: the chair matters more than the mat
Use a sturdy chair with no wheels, and ideally no arms. A solid kitchen or dining chair is perfect. Put the back of it against a wall so it can't slide. When you sit near the front edge, your feet should rest flat with your knees about level with your hips. If your feet don't reach the floor, put a firm cushion or a thick book under them. If the seat is low and getting up is hard, add a folded blanket.
For each pose, give it 3 to 5 slow breaths or 5 to 8 easy repetitions. Breathe steadily the whole time. Holding your breath while you work hard tends to raise blood pressure, which is the opposite of what you want. A stretch should feel like a stretch. If you feel a sharp pain or a pinch, or the pain is in a joint rather than a muscle, back off.
The routine: ten poses, three ways to do each
1. Seated Mountain: the pose that looks like nothing
Sit near the front edge with your feet hip-width apart. Stack your ribs over your hips and let your shoulders slide down away from your ears. Picture a thread lifting the crown of your head. Breathe in for a count of four and out for a count of six. Many people find a slow exhale settling.
- Easier: Sit back and use the backrest for support.
- Harder: Hold your arms out in front at shoulder height. Your core will start working right away.
2. Seated Cat-Cow
Put your hands on your knees. As you breathe in, lift your chest and look slightly upward. As you breathe out, round your back gently and drop your chin.
- Easier: Make the movement small and slow.
- Harder: Sweep your arms overhead as you breathe in, and bring them back to your knees as you breathe out.
- Watch out: If you have osteoporosis or low bone density, focus on the chest-lifting half and keep the rounding small, or leave it out. The reason is explained in pose 6.
3. Seated Side Bend
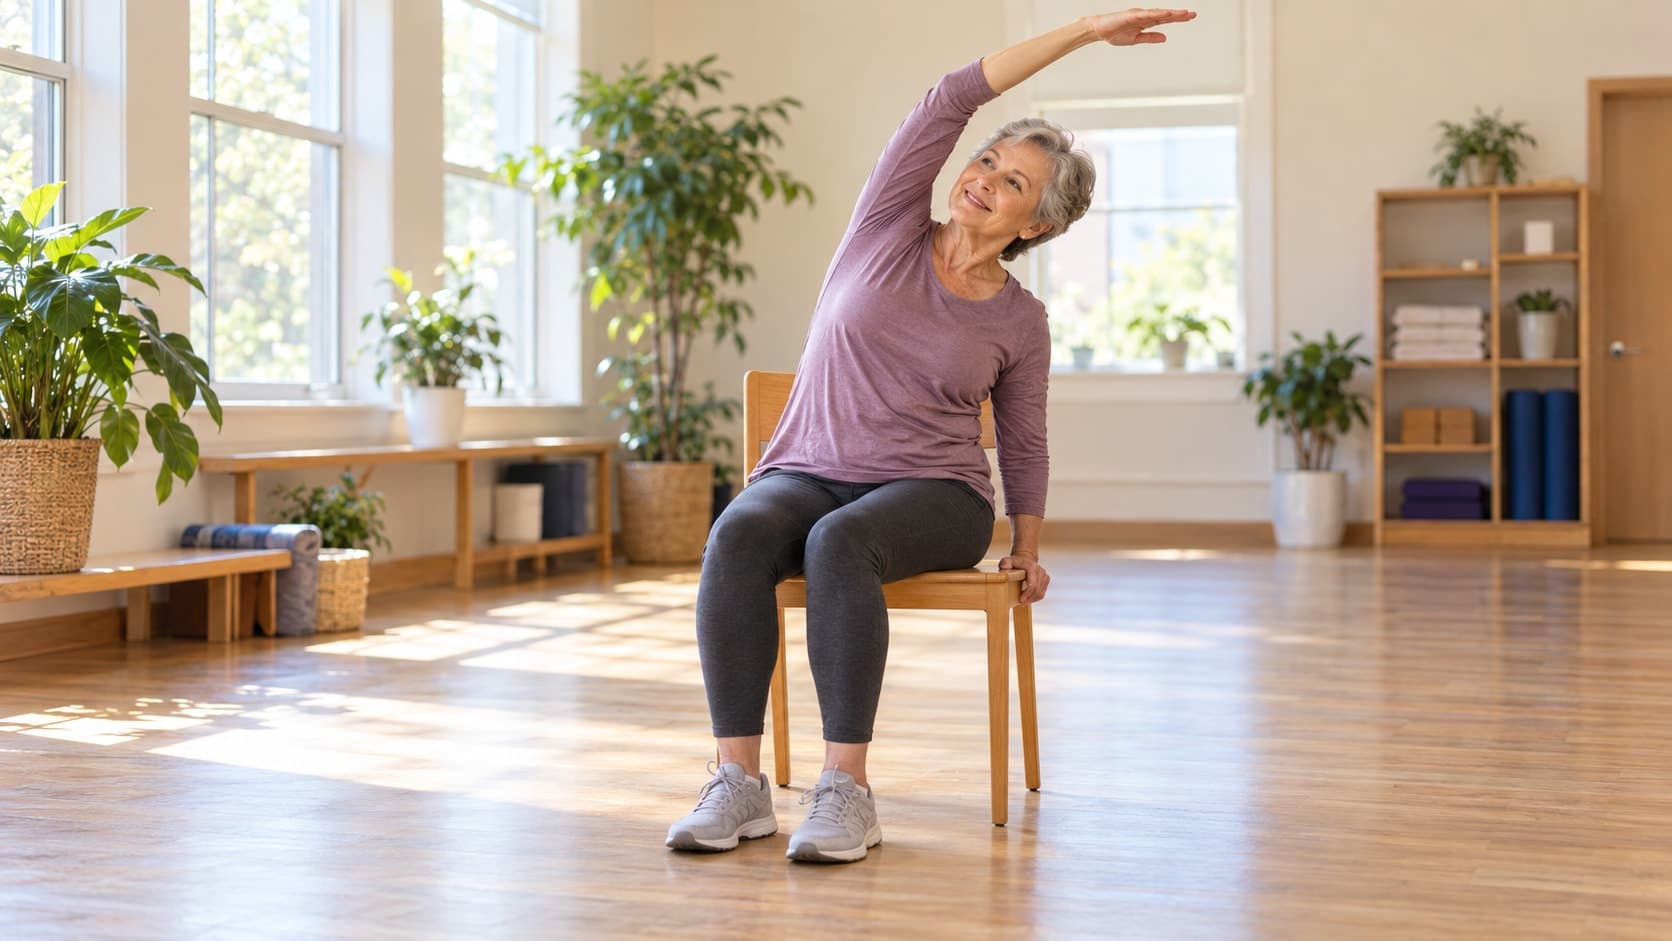
Rest your left hand on the chair seat beside you. Raise your right arm overhead and lean gently to the left, as if reaching over a tall fence. Switch sides.
- Easier: Rest your right hand on your head instead of reaching up. Stiff shoulders will appreciate it.
- Harder: Raise both arms and clasp your hands, then hold for five breaths on each side.
4. Seated Twist
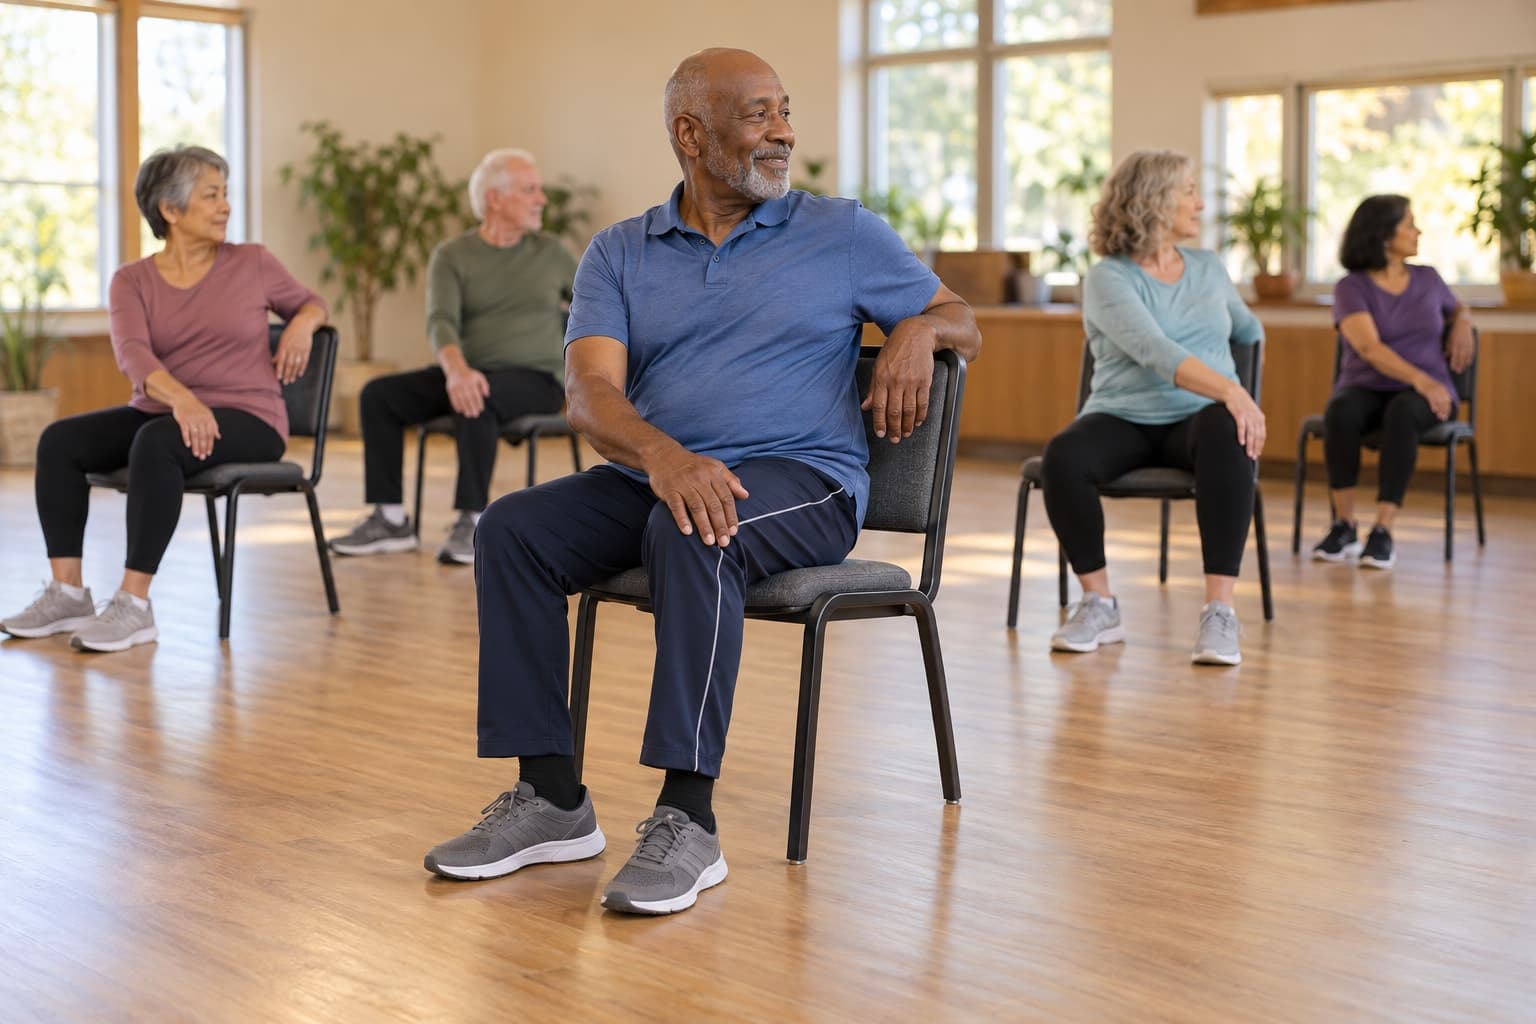
Breathe in and sit tall. Breathe out and turn your ribs to the right, with your left hand on your right knee and your right hand on the back of the chair. Let the turn come from your torso. Don't use your arms to crank yourself further.
- Easier: Keep your hands on your thighs and turn only your shoulders and head.
- Harder: Hold the twist for longer. Don't try to twist further.
- Watch out: With osteoporosis, keep the range of motion modest and never force it.
5. Eagle Arms
Stretch your arms forward, cross your right elbow over your left and press your palms together, or the backs of your hands. Lift your elbows slightly until you feel your upper back widen.
- Easier: Give yourself a hug, with your hands on opposite shoulders.
- Harder: Lift your elbows to shoulder height and hold.
- Watch out: If your shoulder pinches, lower your elbows. You're looking for a stretch, not a pinch.
6. Flat-Back Hip Hinge: the forward fold, done right
This is where most chair routines get it wrong. The usual move is to curl forward and let your head hang toward your knees. Folding forward from the waist with a rounded spine puts extra load on the front of the vertebrae. In a Mayo Clinic case series, yoga poses that bent the spine forward were linked to compression fractures in people with low bone density.
A better way to bend forward is to hinge at the hips. Put your hands on your thighs. Keep your back long, as if you had a broom handle along your spine, and tip your chest forward from the hips while your hands slide toward your knees. You'll feel it in the backs of your thighs.
- Easier: Tip forward only a few inches.
- Harder: Stretch one leg out with the heel on the floor and toes pointing up, then hinge toward that leg.
7. Seated Figure Four
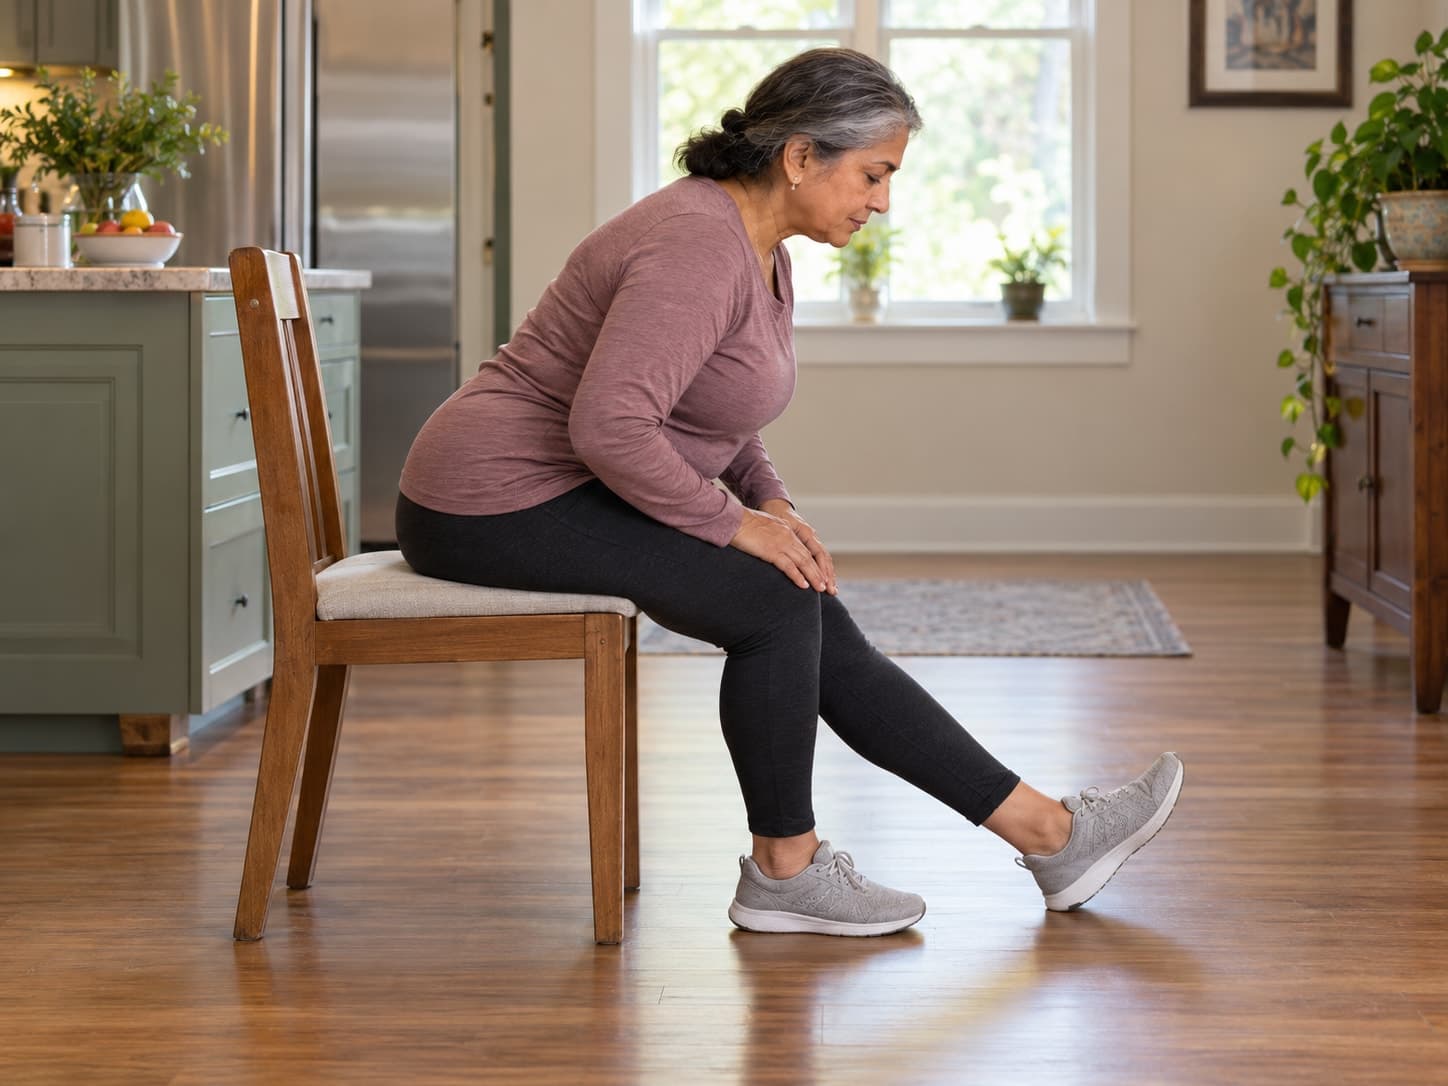
Rest your right ankle on your left knee and let your right knee drop open. Sit tall. That may be enough of a stretch already. If not, hinge forward from the hips as in pose 6.
- Easier: Rest the ankle lower on your shin, or just let the knee fall open with both feet on the floor.
- Harder: Hinge further forward with a long spine.
- Watch out: After a hip replacement, surgeons often restrict leg-crossing and deep hip bending for a period of time. Follow your own surgeon's guidance before trying this one.
8. Warrior II, seated then standing
Seated: Sit near the edge with your knees wide and your toes turned out. Stretch your arms out to the sides, turn your head and look over your right fingertips.
Standing: Stand beside the chair with your left hand on its back. Step your feet wide, turn your right foot out and bend your right knee so it sits over your ankle. Your arms can stay low or reach out. Hold, then switch sides by turning around so your other hand is on the chair.
- Easier: Stick with the seated version and hold for longer.
- Harder: In the standing version, rest only your fingertips on the chair.
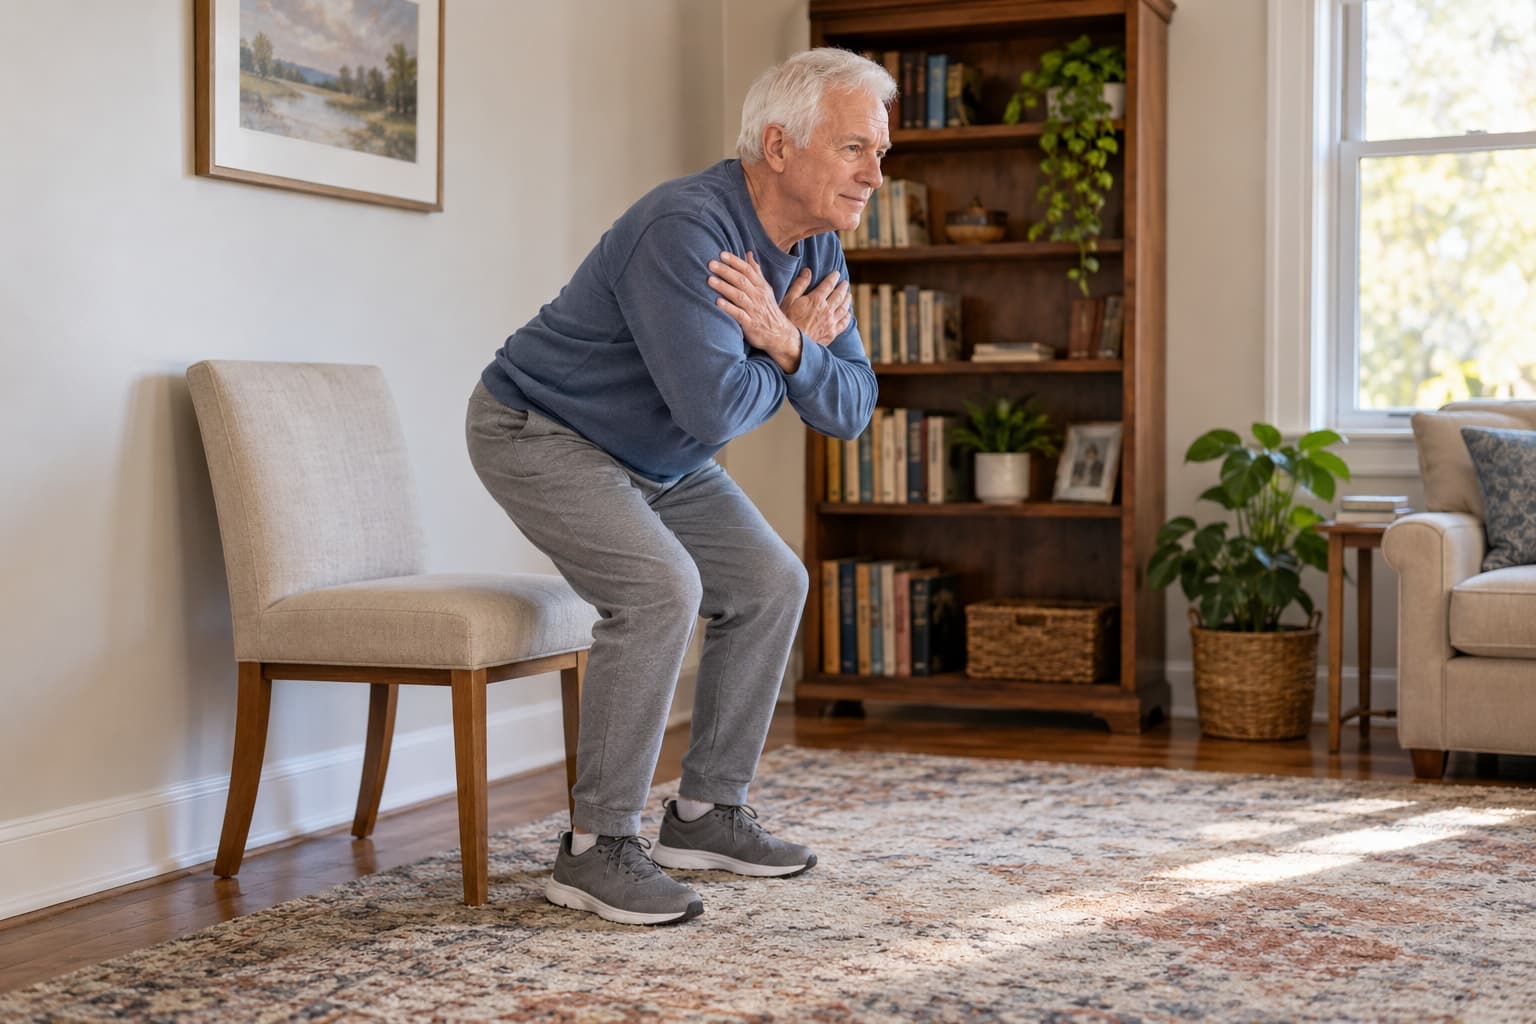
9. Chair-to-Stand: the most useful pose here
Scoot to the front edge and bring your feet back slightly, under or just behind your knees. Lean forward until your nose is over your toes, then press through your heels and stand up. Lower yourself back down on a slow count of three, as if the seat were farther away than you remember.
The CDC lists standing up from a seated position as a balance activity for older adults. It's also a leg-strength exercise, and as noted earlier, it's the movement that improved in the research.
- Easier: Push off your thighs with your hands, or raise the seat with a cushion.
- Harder: Cross your arms over your chest. On the way down, pause and hover just above the seat for one breath. That hover is yoga's Chair Pose, hiding in plain sight.
- Watch out: If standing up makes you lightheaded, pause before you move and stand up more slowly.
10. Tree Pose behind the chair: where balance training begins
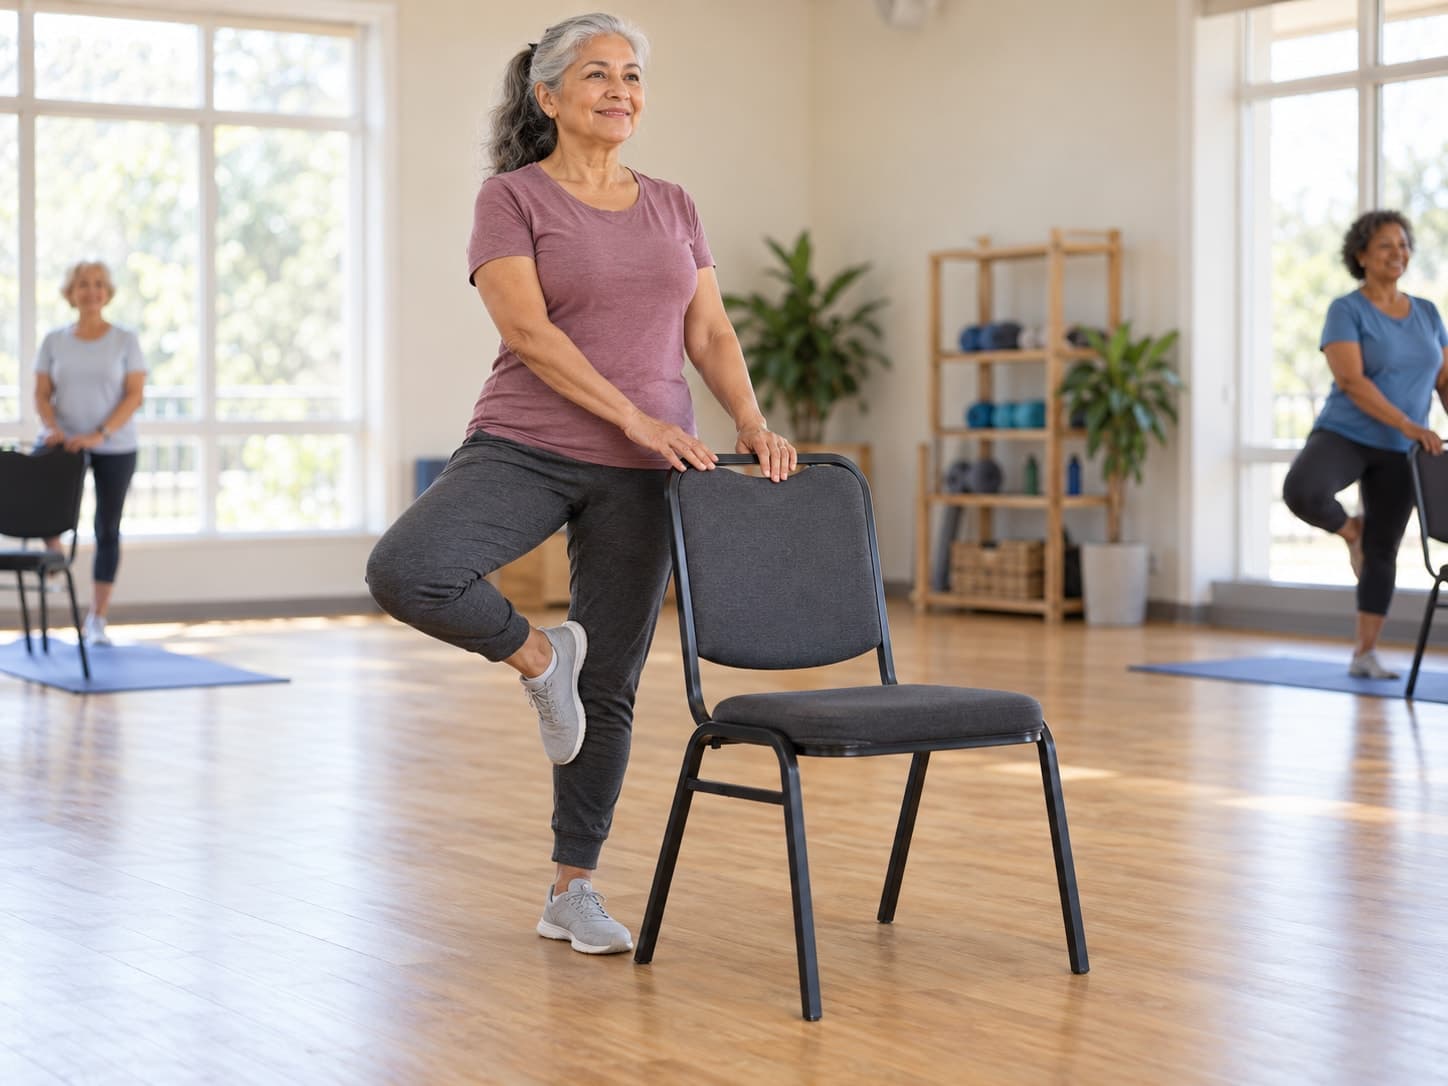
Stand behind the chair with both hands on its back. Shift your weight onto your left foot. Rest your right heel against your left ankle with the toes still on the floor, like a bicycle kickstand. When that feels steady, slide your right foot up to your calf. Never press it against your knee.
Then work through the progression the opening study suggests: two hands on the chair, then one, then fingertips, then hands hovering an inch above the chair back. The chair stays within reach, but your body does more of the balancing.
- Easier: Keep your toes on the floor for the whole pose.
- Harder: Hover your hands, or turn your head slowly from side to side while you hold.
Over 70, brand new, or working around a joint?
Start with poses 1 through 7 for the first couple of weeks, and do pose 9 with your hands pushing on your thighs. Once that feels easy, add the standing poses. Progress one variable at a time: hold a little longer, do another repetition, or use less of the chair. Don't change all three at once.
Talk to your clinician before starting if you have osteoporosis, a recent joint replacement or other surgery, blood pressure that isn't controlled, or regular dizziness. Then tell your instructor, if you have one. NCCIH gives the same advice for older adults who are starting yoga.
Finding chair yoga near you (often for free)
Free or low-cost classes often run at senior centers, public libraries, parks and recreation departments, YMCAs and hospital wellness programs. Some Medicare Advantage plans include fitness benefits, so it's worth asking your plan what it covers. Free online videos are everywhere. Pick instructors who offer options for each pose and explain alignment, not ones who just demonstrate.
Before you sign up, ask the instructor how long they've taught older adults. The basic "RYT" credential can be earned with 200 hours of training. If you're managing a health condition, a certified yoga therapist (C-IAYT) has more specialized training.
How much is enough, and what to expect
The Florida trial used two 45-minute sessions a week, and its benefits showed up within eight weeks. CDC guidelines for adults 65 and up call for muscle-strengthening work at least two days a week, plus balance activities and about 150 minutes of moderate aerobic activity. Chair yoga can cover a good share of the strength and balance work, but it isn't cardio. Pair it with walking, swimming or cycling.
Expect results like getting out of chairs more easily, feeling less stiff in the morning and possibly having less joint pain. In the short run, most of the gain may be in confidence: once you trust that the movement is safe, you tend to do more of it.
some physical activity is better than none at all.
Try this: the kettle routine
This week, while your morning coffee or tea is brewing, do three poses: Seated Mountain for five breaths, five Cat-Cows, and five Chair-to-Stands. It takes about three minutes. Do it every day for seven days, and on day seven notice whether standing up feels any different.
Your one-page routine (print this)
| # | Pose | Dose | Key cue |
|---|---|---|---|
| 1 | Seated Mountain | 5 breaths | Exhale longer than inhale |
| 2 | Seated Cat-Cow | 5–8 rounds | Keep the rounding small with low bone density |
| 3 | Seated Side Bend | 3–5 breaths per side | Reach up and over |
| 4 | Seated Twist | 3–5 breaths per side | Turn from the ribs, don't crank with the arms |
| 5 | Eagle Arms | 3–5 breaths per side | Lift elbows, stop at any pinch |
| 6 | Flat-Back Hip Hinge | 3–5 breaths | Hinge at the hips, keep the spine long |
| 7 | Seated Figure Four | 3–5 breaths per side | Check hip-replacement precautions |
| 8 | Warrior II | 3–5 breaths per side | Front knee over ankle |
| 9 | Chair-to-Stand | 5–10 reps | Nose over toes, lower on a count of three |
| 10 | Tree behind the chair | 3–5 breaths per side | Two hands → one → fingertips → hover |
You'll still be sitting down for most of this. But each week, look for one small way to need the chair a little less than you did the week before.
Sources
1. Park J, McCaffrey R, Newman D, Liehr P, Ouslander JG. A pilot randomized controlled trial of the effects of chair yoga on pain and physical function among community-dwelling older adults with lower extremity osteoarthritis. J Am Geriatr Soc. 2017;65(3):592–597. Read source (trial registration: Read source)
2. Klempel N, Blackburn NE, McMullan IL, et al. The effect of chair-based exercise on physical function in older adults: a systematic review and meta-analysis. Int J Environ Res Public Health. 2021;18(4):1902. Read source
3. Galantino ML, Green L, DeCesari JA, et al. Safety and feasibility of modified chair-yoga on functional outcome among elderly at risk for falls. Int J Yoga. 2012;5(2):146–150. Read source (poster with outcome data: Read source)
4. National Center for Complementary and Integrative Health. Yoga for Health (Clinical Digest). Read source
5. Sinaki M. Yoga spinal flexion positions and vertebral compression fracture in osteopenia or osteoporosis of spine: case series. Pain Pract. 2013;13(1):68–75. doi:10.1111/j.1533-2500.2012.00545.x Source record.
6. Smith EN, Boser A. Yoga, vertebral fractures, and osteoporosis: research and recommendations. Int J Yoga Therap. 2013;23(1):17–23. Read source
7. Centers for Disease Control and Prevention. Older Adult Activity: An Overview. Read source
8. Centers for Disease Control and Prevention. What Counts as Physical Activity for Older Adults. Read source
9. Duke Integrative Medicine. Guidance on choosing a yoga instructor for older adults (RYT and C-IAYT credentials). Read source
Your next step
Try the kettle routine this week, then use the one-page table to keep the ten poses handy.
Use the one-page routine